I don’t use sales meetings for any of my photography so you’ll be able to view and order any of the images from your session directly from your private online gallery. It should be pretty straightforward but here’s some guidance on how it works if you need it.
When your image gallery is ready for you, you’ll get an email with a link and a password. Simply follow the link and put in the password to gain access to your gallery.
If you’re copying and pasting your code, then just make sure you’re not picking up any extra spaces at the start or end of the password as this will mean that it doesn’t work.
When you access your gallery, you’ll see two little help tip screens first of all.


Viewing Your images
Click through them, and you’ll be into your gallery and looking at your header image.

Scroll down to see a thumbnail gallery of all of your images. The page will continue to load as you scroll down to display all of your images so you might need to wait a few seconds for each batch to load depending on your internet download speed.

Displaying the Image Prices
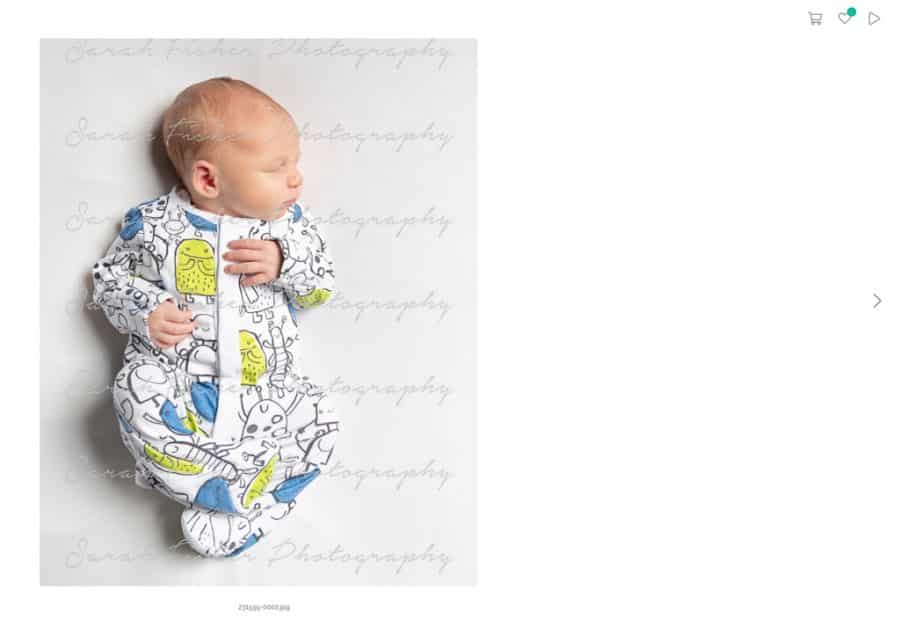
When you are looking at the images in thumbnail view, if you hover your mouse over a picture, you will see a little shopping trolley graphic pop up in the bottom right hand corner. If you have clicked on the image to look at it in full screen mode, the shopping cart will be displayed in the top right hand corner of the screen.

Thumbnail View

Full Screen View
Click on the shopping cart to display a list of the print, digital image and package prices.

Ordering your Images
Click on the item that you would like to order – in this example, a pack of five digital images. A dialogue box will be displayed that allows you to select the images that you would like to include in your package.

Click on each box to pick your images…

Then, if you’re done, click on the checkout button. That will display a Checkout page that should look pretty similar to most online shopping websites. Simply fill in your details as normal and click continue to proceed through the secure payment process.

Choosing your Favourites
My photo shoot packages quite often include a certain number of images and you let me know which you would like by using your gallery’s Favourites function. To add an image to your favourites list, simply click on the little heart graphic. You’ll be prompted to put in an email address which just allows you to identify your favourites list if, for example, family members will be creating their own lists.


You can add and remove images to your favourites list as much as you want until you are happy that you have your final selections.

When you are finished choosing, click on the little paper plane icon at the top right of the screen and choose to ‘Share with Photographer’. This will notify me that you are finished making your choices so I can prepare them for you to be able to download. When you’re clicked on the Share with Photographer text, a further dialogue box will be displayed that will allow you to add any notes that you would like to.


